Home >[TeX] >[Index] >[環境] >[figure]
figure 環境

\usepackage{graphicx}をプレアンブルに入れて、図を取り入れる。
  \begin{figure}[位置]
  %\caption{キャプション}\label{fig001}   上部にキャプションを入れたいとき
  \centering\includegraphics{...}
  \caption{キャプション}\label{fig001}    % キャプションが図の下部に入る
  \end{figure}
位置
h(Here)、t(Top)、b(Bottom)、p(Page of floats)

\begin{center}...\end{center}でなく、\centeringを用いる。
%%
[左のソースファイル][右のソースファイル]


図目次:\listoffigures
 \caption[図目次用キャプション]{本文中用キャプション}
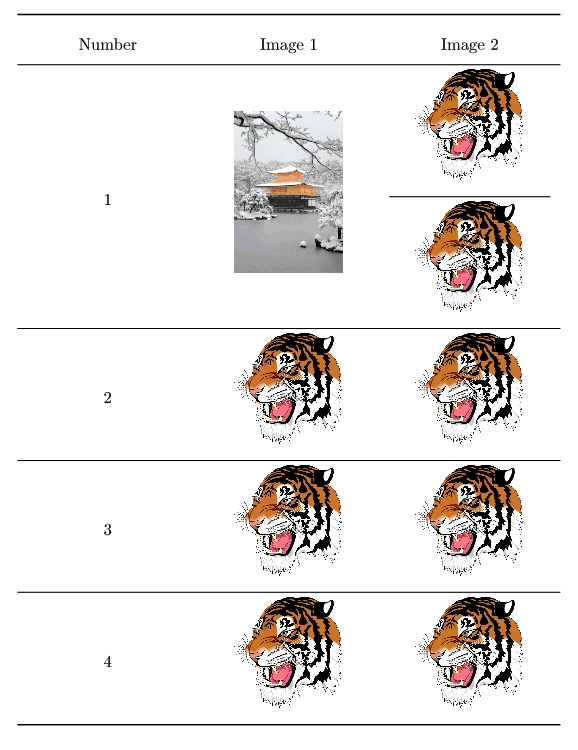
 \begin{figure}[htbp]
 %\caption[図目次用キャプション]{本文中用キャプション}\label{fig:fig1} キャプション上部
 \centering\includegraphics[width=3cm]{tiger.eps}
 \caption[図目次用キャプション]{本文中用キャプション}\label{fig:fig1}
 \end{figure}
  • 図目次用キャプションに[とか]を用いるときは、{}で囲う。
%%
[上のソースファイル]

[図] [例 --1] [例 -- 2]


図と表を常に真ん中に配置(\centeringの記述が不要になる)
  \makeatletter
    \newenvironment{myfigure}[1][\fps@figure]%
    {\begin{figure}[#1]\centering}%
    {\end{figure}}
    \newenvironment{myfigure*}[1][\fps@figure]%
    {\begin{figure*}[#1]\centering}%
    {\end{figure*}}
  \makeatother
figure01.gif
[上のソースファイル]

  \newcommand{\Tabref}[1]{表~\ref{#1}}
  \newcommand{\Equref}[1]{式~(\ref{#1})}
  \newcommand{\Figref}[1]{図~\ref{#1}}
をプレアンブルに入れておくと、\Tabref\Equref\Figrefが利用できます。
@
[上のソースファイル]

他ページの図・表を参照するときはページ数を入れる。
figure01a.gif
[上のソースファイル]

図の番号と表の番号を通し番号にする。
  \makeatletter
  \let\c@figure\c@table
  \let\p@figure\p@table
  \let\cl@figure\cl@table
  \let\thefigure\thetable
  \makeatother
footmisc
[上のソースファイル(jreport.cls, jbook.cls)][上のソースファイル(jarticle.cls)]

footmisc
[上のソースファイル]

\raisebox
*
[上のソースファイル]

subcaptionを伴う。
*
[上のソースファイル]
高さの違う図を含むときのキャプションの位置参照。

listliketabを伴う。
*
[上のソースファイル]
*
[上のソースファイル]


脚注:図や表を入れる。
footmisc
[上のソースファイル]

脚注:キャプションの付けて、図や表を入れる。
footmisc
[上のソースファイル]


\usepackage{multicol}
multicol004
[上のソースファイル]

\documentclass[twocolumn]{jarticle}
  \makeatletter
  \newcommand{\figcaption}[1]{\def\@captype{figure}\caption{#1}}
  \newcommand{\tblcaption}[1]{\def\@captype{table}\caption{#1}}
  \makeatother
を入れて、図と表のキャプションを追加。
multicol004
[上のソースファイル]

\documentclass[twocolumn]{jarticle}
multicol004
[上のソースファイル]

\documentclass[twocolumn]{jarticle}
  \makeatletter
  \newcommand{\figcaption}[1]{\def\@captype{figure}\caption{#1}}
  \newcommand{\tblcaption}[1]{\def\@captype{table}\caption{#1}}
  \makeatother
を入れて、図と表のキャプションを追加。
multicol004
[上のソースファイル]

\documentclass[twocolumn]{jarticle}
\begin{figure*}\begin{table*}を利用。
multicol004
[上のソースファイル]

nidanfloatを追加。
multicol004
[上のソースファイル]

図・表をascmacitemboxで囲む。
%%
[上のソースファイル]

図・表をascmacshadowboxで囲む。
%%
[上のソースファイル]


[図] [例 --1] [例 -- 2]

   図・表組 Tips
  • 表番号に節番号を付けるには、
      \makeatletter
       \renewcommand{\thetable}{%
       \thesection.\arabic{table}}
       \@addtoreset{table}{section}
      \makeatother
    
    をプレアンブルに入れる。図の場合は、
      \makeatletter
        \renewcommand{\thefigure}{%
        \thesection.\arabic{figure}}
        \@addtoreset{figure}{section}
      \makeatother
    
    [][golfer.eps]
  • 表番号、図番号の変更はそれぞれ、\setcounter{table}{10}\setcounter{table}{10}を番号を変更したい箇所の前に入れる。この場合は、番号は11となる。
  • 表のセルの中では改行が出来ない(\\が利用できない)ので、\parboxを用いて、段落を挿入する。
    @
    [上のソースファイル]
  • 改頁を伴う長い表には、longtableまたは、supertabularを用いる。
  • キャプションの”:”を変更するには、ccaptionを組み込み、\captiondelim{**}とする。”: ”が”**”に変更される。
  • 表の項目への脚注。
    1.
    minipage環境
    tablefoot.gif
    [上のソースファイル]
    上のminipage環境による罫線を消すのは
    \renewcommand{\footnoterule}{}を入れます。
    2.
    threeparttable
    tablefoot.gif
    [上のソースファイル]
    3.
    \multicolumn{}{}{}
    tablefoot.gif
    [上のソースファイル]
  • twocolumnmulticolを指定しているときは、\begin{figure*}\begin{table*}として段組から外す。
  • ! LaTeX Error: Too many unprocessed floats.のErrorが出たら、\clearpageを入れる。\newpageではメッセージが消えないときもある。
  • \begin{tabular}...\end{tabular}全体を{\small ...}{\tiny ...}で囲んで全体のフォントを小さくする。 参照
  • Excelからの表は、Excel2TabularExcel2LaTeXCalc2LaTeXを利用すると簡単に作ることが出来る。
  • 横罫線と縦罫線の交点は、拡大すると
    table100.gif
    のようになっている。hhlineを用いることで
    table101.gif
    に出来る。array参照。
  • 図と表を常に真ん中に配置(\centeringの記述が不要になる)
      \makeatletter
        \newenvironment{myfigure}[1][\fps@figure]%
        {\begin{figure}[#1]\centering}%
        {\end{figure}}
        \newenvironment{myfigure*}[1][\fps@figure]%
        {\begin{figure*}[#1]\centering}%
        {\end{figure*}}
      \makeatother
    
    footmisc
    [上のソースファイル]
  • 図の番号と表の番号を通し番号にする。
      \makeatletter
      \let\c@figure\c@table
      \let\p@figure\p@table
      \let\cl@figure\cl@table
      \let\thefigure\thetable
      \makeatother
    
    footmisc
    [上のソースファイル(jreport.cls, jbook.cls)][上のソースファイル(jarticle.cls)]

[図] [例 --1] [例 -- 2]


@

To the TeX Page
TeX

@

inserted by FC2 system